How to Design a Small Business Website: A Step-by-Step Guide
You know your business needs a website that actually brings in customers, not just a digital business card that sits there looking nice. If you are wondering how to design a small business website that ranks locally, loads fast, and turns visitors into paying customers, you are in the right place, and the process is more straightforward than most agencies make it seem.
This guide walks you through the exact steps: choosing between a website builder or a custom build, mapping out pages that match how customers actually search, writing copy that converts, and setting up local SEO so people in your area find you before they find your competitor. You will also learn which platforms make sense for a single location versus a business planning to grow into a multi-location setup down the road.
We built Multi Web Team specifically because small business owners kept running into the same wall: they'd launch a site, then get stuck paying per-change fees or waiting weeks for simple updates. So beyond the design steps, we'll flag where DIY tools fall short and what to plan for if you expect to add locations or need frequent content updates without the hassle.
What to know before you start designing your website
Before you touch a single template or sign up for a website builder, get clear on a few realities that most guides skip. Small business websites fail not because the owner picked the wrong color scheme, but because nobody planned for what happens after launch. You need a plan for updates, a realistic budget, and a clear picture of what "done" actually looks like, because a website is never really finished.
The real cost of "free" and cheap tools
Many small business owners start with a free or low-cost builder because the sticker price looks appealing. The catch shows up later. You'll hit paywalls for basic features like removing ads, adding a custom domain, or unlocking SEO tools. Worse, if you don't have technical skills, every update, a new promotion, a menu change, a holiday hours notice, either takes you hours to figure out or costs you money to outsource one task at a time.
A website that costs nothing upfront but charges you in hours and per-change fees later isn't actually cheap.
Before committing to a platform, map out what a typical month of updates looks like for your business. Restaurants change specials weekly. Fitness studios rotate class schedules. Retailers swap out promotions. If you're doing this yourself, factor in the real time cost, not just the subscription price.
What your website actually needs to accomplish
A small business website has one job: turn a stranger into a customer. Everything else, the design, the animations, the stock photos, is in service of that goal. Before you start designing, write down the three actions you most want visitors to take. For most small businesses, that list looks something like this:
- Call the business directly from a mobile device
- Book an appointment or make a reservation online
- Get directions to a physical location
- Request a quote or fill out a contact form
- Browse products or services before visiting in person
If you can't clearly state what you want a visitor to do on each page, you're not ready to start designing yet. Go back and define that first.
Decide your budget and timeline honestly
Costs vary wildly depending on the approach you take, and comparing them side by side helps you avoid sticker shock later.
| Approach | Typical upfront cost | Typical ongoing cost | Time to launch |
|---|---|---|---|
| DIY website builder | $0 to $200 | $15 to $50/month | 1 to 3 weeks |
| Freelance designer | $1,000 to $5,000 | $0 to $100/month for hosting | 4 to 8 weeks |
| Agency custom build | $3,000 to $15,000+ | Varies, often per-change fees | 6 to 12 weeks |
| Managed subscription service | $0 to $500 setup | Flat monthly fee, unlimited updates | 2 to 4 weeks |
Be honest about how much time you have. If you're running a business with multiple locations already, or planning to open more, the DIY route tends to break down fast because you'll be duplicating pages, managing local SEO manually, and fielding update requests from every location manager.
Gather your assets before you start
Nothing slows down a website launch like scrambling for content halfway through. Before you open a website builder or brief a designer, collect these items:
- Your business name, address, and phone number exactly as they should appear everywhere (this consistency matters for local search)
- Logo files in high resolution, ideally vector format like SVG or AI
- Photos of your location, products, staff, or services
- A list of every service or product you offer, with pricing if you display it
- Customer testimonials or reviews you have permission to publish
- Hours of operation for each location if you have more than one
Having these ready before you start designing saves you from launching with placeholder text and "lorem ipsum" images that quietly sit there for months because nobody circles back to fix them.
Step 1. Define your website goals and audience
Every page you build should trace back to one question: what do you want this website to accomplish? Skipping this step is why so many small business sites end up as a pile of generic pages with no clear direction. Before you pick a platform or a template, nail down your primary conversion goal and get specific about who you're actually trying to reach. This single decision shapes your navigation, your homepage copy, and even which pages you build first.
Identify your primary conversion goal
Most small businesses have one dominant action they want visitors to take, even if they support several. A dentist wants appointment bookings. A contractor wants quote requests. A restaurant wants phone orders or reservations. Pick the one goal that matters most and design your homepage around it. You can support secondary goals elsewhere on the site, but your homepage focus should never be split three or four ways, because a visitor who sees five equally weighted buttons usually clicks none of them.
If your homepage tries to do everything, it ends up doing nothing well.
Get specific about your audience
"Local customers" isn't specific enough to design around. Write out who actually walks through your door or calls your business. Include the practical details that shape design decisions:
- Age range and typical device use (are they browsing on a phone during a lunch break or researching on a desktop at night?)
- Urgency level (are they searching "emergency plumber near me" or comparison shopping for weeks?)
- Geographic radius (do they drive 20 minutes or only walk a few blocks?)
- Price sensitivity and what convinces them to choose you over a competitor
These answers directly affect your content strategy . An urgent-service business needs a phone number visible on every screen without scrolling. A considered-purchase business needs more educational content, reviews, and comparison information before someone commits.
Write your goals down before moving forward
Don't skip this because it feels obvious. Open a document and write one sentence for your primary goal, three sentences describing your ideal customer, and a short list of the top three actions you want every visitor to take. Keep this document open while you work through the rest of this guide. Every choice you make from here, your domain name, your platform, your page structure, should be measured against whether it serves that goal and that audience. If a feature or design trend doesn't move you closer to conversions from the customers you actually serve, leave it out.
Step 2. Choose a domain name and hosting platform
Your domain name is often the first impression a customer forms of your business, so treat picking one as a real decision, not an afterthought. Search for your business name as a .com first. If it's taken, resist the urge to add extra words or hyphens just to grab something available. A domain like "joesplumbingnj.com" reads as spammy compared to "joesplumbing.com," and customers remember and trust cleaner names more.
Picking a domain that works for local search
Keep your domain short, easy to spell over the phone, and free of numbers or hyphens whenever possible. If your exact business name is unavailable, adding your city or primary service area can actually help, since it reinforces relevance for local search without looking forced. Avoid trendy extensions like .biz or .info unless nothing else fits your budget. Customers still trust .com more, and it's worth the extra few dollars a year to get it.
- Check availability through a registrar like Google Domains' successor, Squarespace Domains, or any established registrar
- Buy your domain for multiple years upfront to avoid accidental lapses
- Register common misspellings or variations if your budget allows, and redirect them to your main domain
- Match your domain to your business name exactly when possible, since inconsistency confuses both customers and search engines
Understanding hosting and why it matters
Hosting is the server space where your website actually lives, and the option you choose affects your site's speed, uptime, and how much technical maintenance falls on you. If you go with a website builder like Squarespace or Wix, hosting is bundled into your subscription, so you don't need to think about it separately. If you build on WordPress, you'll need to buy hosting separately from providers like Bluehost or SiteGround, which means you're now responsible for security updates, backups, and uptime monitoring.

The domain and hosting decisions you make on day one determine how much technical maintenance you're stuck doing every month after launch.
For most small business owners without technical staff, bundled hosting through a builder or managed service removes a real headache. Separate hosting gives you more control and flexibility, but it also means you're the one who notices when a plugin breaks your checkout page at 11 PM. If you're already leaning toward a managed subscription model for your website, confirm hosting, security patches, and backups are included, so you're never caught paying extra or troubleshooting alone when something goes wrong.
Step 3. Select a website builder or CMS platform
Once you know your goals and audience, the platform decision gets a lot easier, because you're no longer picking based on looks alone. You're picking based on how much time you want to spend maintaining a website builder versus how much control you need over design and SEO. There's no single right answer here, but there is a wrong one: choosing a platform because a friend used it, without checking if it fits your business type or growth plans.
Comparing your main options
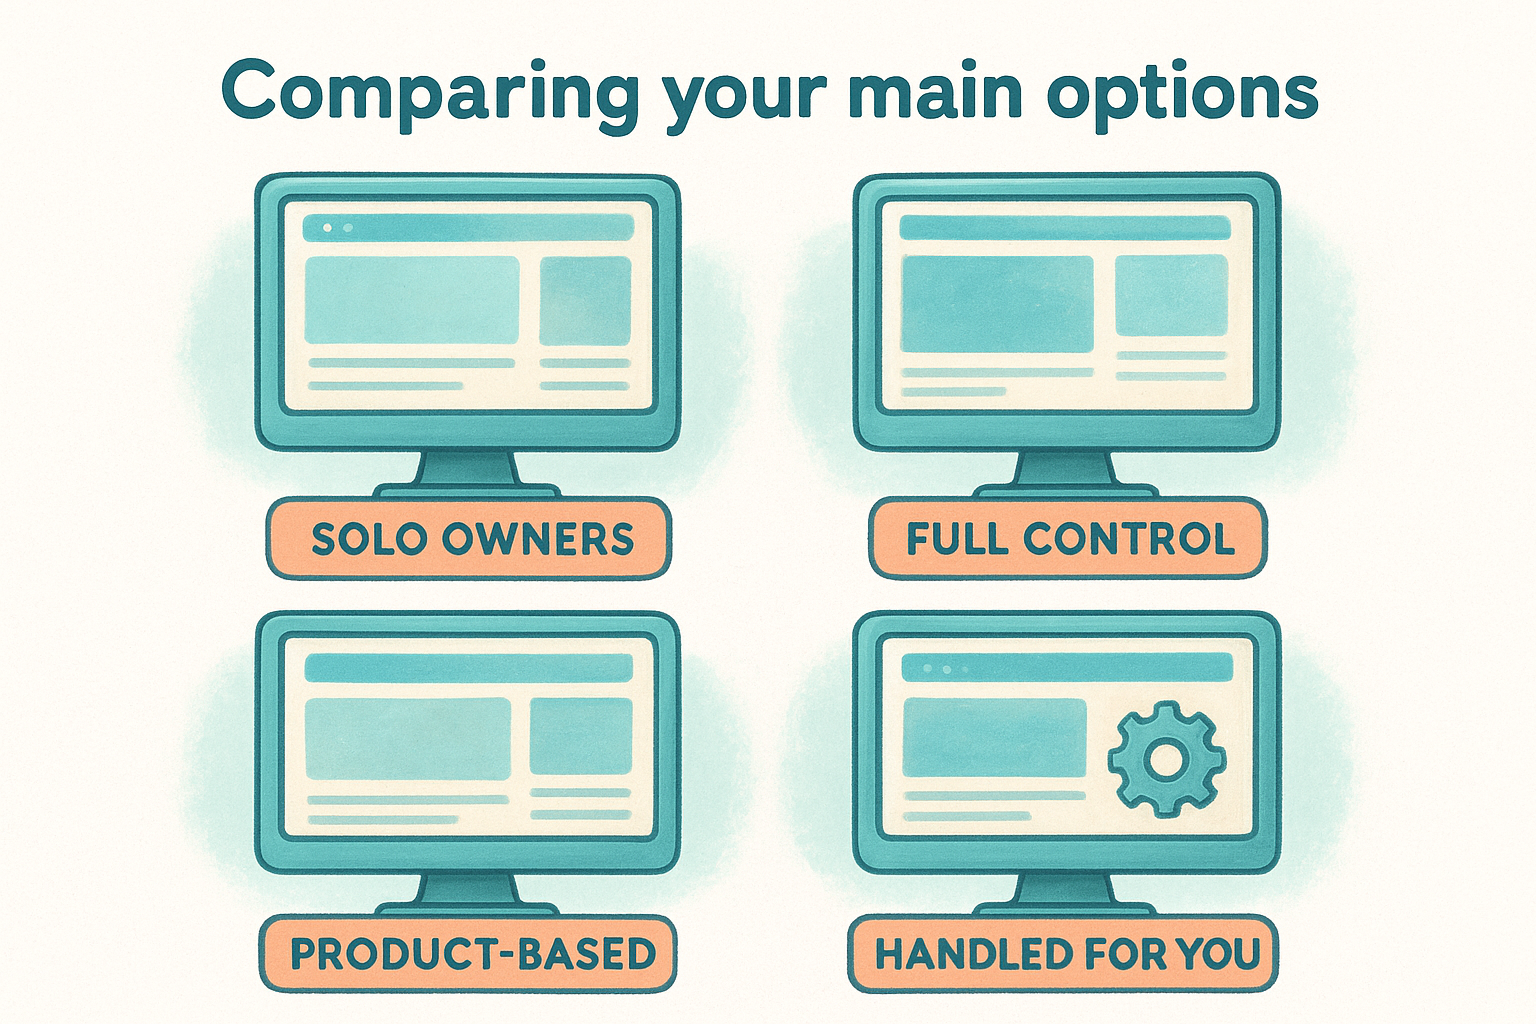
Each platform trades off ease of use against flexibility and long-term cost. Squarespace and Wix are the fastest to launch with, but they limit customization once you outgrow the basics. WordPress gives you near-total control, but it demands ongoing maintenance that most small business owners don't have time for. A managed subscription service sits in between, giving you a custom-built site without handing you the technical upkeep.
| Platform | Best for | Learning curve | SEO control | Ongoing maintenance |
|---|---|---|---|---|
| Squarespace / Wix | Solo owners, simple sites | Low | Limited | Low |
| WordPress | Content-heavy sites, full control | High | Strong | High, falls on you |
| Shopify | Product-based businesses | Medium | Moderate | Medium |
| Managed subscription service | Multi-location or franchise businesses | Low | Handled for you | None |
The right platform isn't the one with the most features, it's the one that matches how much time you actually have to maintain it.
Where WordPress fits, and where it doesn't
WordPress powers a huge share of the web because it's flexible enough to build almost anything. That flexibility comes at a price: plugin conflicts, security patches, and page speed issues creep in over time if nobody's actively managing the backend. If you have in-house technical help or a dedicated web team, WordPress can work well. Without that support, plan on hiring someone to maintain it, because a neglected WordPress site becomes a security liability fast, as WordPress.org's own security guidance makes clear.
Matching the platform to your growth plans
Finally, think past your launch date. A single-location business can often get by fine on a basic builder. But if you're planning to open a second location, franchise your concept, or manage location-specific SEO across multiple cities, DIY builders start showing cracks fast, since you'll be duplicating pages by hand and losing consistency across locations. Consider whether your platform can handle:
- Location-specific landing pages that still share a consistent brand structure
- Centralized updates that push changes across every location at once
- Local SEO fields for each address, phone number, and set of hours
- Adding new locations without rebuilding the entire site from scratch
Step 4. Map out your site structure and pages
Good site structure works like a well-organized store: customers find what they need in two clicks, not five. Before you build a single page, sketch out your site map on paper or in a simple document. List every page you need, then group related pages under clear navigation categories. Skipping this step leads to the scattered, hard-to-navigate sites you've probably visited yourself, where you can't find pricing or a phone number without hunting through a dropdown menu.
Start with the pages every small business site needs
Most small business websites need the same core set of pages, regardless of industry. Build from this list and add industry-specific pages as needed:
- Homepage that states what you do, who you serve, and what to do next
- About page with your story, credentials, and team
- Services or products page detailing what you offer
- Contact page with phone, address, hours, and a map
- Reviews or testimonials page to build trust before someone calls
- Blog or resources section if you plan to publish helpful content regularly
Don't add pages just because a competitor has them. Every page should tie back to the primary goal you defined in Step 1.
Organize navigation around how customers search
Navigation should mirror how customers actually think, not how your business is organized internally. A customer doesn't care that you have separate departments for repairs and installations, they care about finding the service they need fast. Keep your main navigation to five or six items maximum, and use clear labels like "Services" and "Contact" instead of clever alternatives like "What We Do" that force visitors to guess.
If a visitor can't find what they're looking for in under ten seconds, your navigation has failed them.
Plan for location pages if you have more than one
Single-location businesses can keep this simple, but if you run multiple locations or plan to expand, build a dedicated page for each address from the start. Each location page needs its own address, phone number, hours, and embedded map, since search engines rank these pages separately for local search results. Trying to bolt this structure on later means rebuilding your navigation and duplicating work across every existing page, which is exactly where DIY builders start to strain under growth.
Step 5. Choose a template and customize your branding
Once your site map is settled, picking a template feels a lot less overwhelming, because you already know which pages you need and what each one has to accomplish. This step is where a lot of small business owners lose hours scrolling through hundreds of options, chasing a design that looks impressive instead of one that fits how customers actually use your site. Whether you're working in a builder or briefing a designer, the goal when you design a small business website at this stage is functional consistency, not novelty.
Match the template to your industry, not your taste
Resist picking a template purely because you like the layout. A restaurant needs a template built around a visible menu and online ordering, while a home services business needs a layout that puts a phone number and service area map front and center. Browse templates built for your industry first, since most builders and CMS platforms organize them by business type for exactly this reason. Look at how each option handles mobile view, since most of your visitors will land on a phone, not a desktop.
Apply your branding consistently
Once you pick a base template, customize it with your actual brand colors , fonts, and logo rather than leaving default placeholder styling in place. Consistency here builds trust fast, and inconsistency does the opposite.
- Upload your logo in the exact file you gathered earlier, not a stretched or cropped version
- Set two or three brand colors as your palette and apply them consistently across buttons, headers, and links
- Choose one heading font and one body font, then stick with them site-wide
- Match your color choices to your existing signage, packaging, or uniforms so the site feels like the same business customers already know
A website that doesn't match your storefront or your business cards confuses customers before they even call you.
Avoid common branding mistakes
Small business owners often overcorrect by using too many colors, competing fonts, or stock photography that looks nothing like the real business. Skip generic handshake photos and use real pictures of your team, your location, and your work whenever possible, since authentic photography builds more trust than polished stock images ever will. If you're working with a managed service instead of a DIY builder, this is also the point where a design team should be pulling your existing brand assets directly into a custom layout, rather than forcing your business into a rigid template that looks like every other site built on the same platform.
Step 6. Add content, images, and calls to action
With your template and branding locked in, it's time to fill the site with actual substance. This is where most DIY projects stall, because writing clear copy and gathering good photos takes longer than picking a color palette. Treat this step as the core of your website, since a beautifully designed page with vague text and blurry photos still won't convert a single visitor into a customer.
Write copy that speaks to your customer, not your ego
Skip the generic "welcome to our website" language and get straight to what the visitor needs to know. Every page should answer three questions fast: what do you offer, who is it for, and what should the visitor do next. Use short paragraphs, plain language, and headlines that state a benefit instead of a slogan. If you're stuck, imagine explaining your business to a neighbor over the fence, then write it down close to that tone.
Visitors decide whether to stay on your page within seconds, so lead with what matters to them, not your company history.
Use real photos, not stock filler
Real images of your storefront, staff, and finished work build more trust than polished stock photography ever will. If you're short on quality photos, a smartphone with good lighting beats a generic stock library every time, since customers can spot fake handshake photos instantly. Compress images before uploading so pages load fast, and add descriptive file names and alt text for every photo, which also helps your on-page SEO .
Place calls to action where visitors actually look
Every page needs a clear next step, and that step should match the primary goal you defined back in Step 1. Don't bury your call to action at the bottom of a long page and hope someone scrolls that far.
- Put your phone number and a "Call Now" button in the header on every page
- Repeat your main call to action at the top, middle, and bottom of longer pages
- Use action verbs on buttons, like "Book Your Appointment" instead of "Submit"
- Keep contact forms short, asking only for name, phone, and a brief message
A site full of great content still underperforms if visitors don't know what to do next, so give them an obvious next step on every single page, not just the homepage.
Step 7. Optimize for mobile devices and search engines
Most of your visitors will find you on a phone, not a desktop, so mobile optimization isn't optional polish, it's the baseline test your site has to pass before launch. Google also uses mobile-first indexing, meaning it primarily crawls and ranks the mobile version of your site, according to Google's own documentation. If your mobile experience is clunky, your rankings suffer right along with your conversions.
Test your mobile experience like a customer would
Open your site on an actual phone, not just a browser window resized smaller, and click through every page the way a customer would while standing in a parking lot or waiting for coffee. Check that buttons are large enough to tap without zooming, that text doesn't require pinching to read, and that your phone number is clickable, not just displayed as plain text. Slow-loading pages lose visitors fast, so run your site through Google's PageSpeed Insights and fix any images or scripts flagged as major slowdowns.
A customer who can't tap your phone number in three seconds will call your competitor instead.
Build the SEO basics into every page
Search engine optimization starts with a handful of on-page elements that most builders let you edit directly, so there's no excuse for skipping them. Fill these in for every page before you launch:
- Title tag that includes your primary service and city, kept under 60 characters
- Meta description that summarizes the page and includes a reason to click, under 155 characters
- One H1 heading per page that matches what the visitor searched for
- Descriptive URL slugs , like /plumbing-repair-nj instead of /page4
- Alt text on every image describing what it shows
Claim and connect your Google Business Profile
Beyond on-page work, claim your Google Business Profile and make sure your business name, address, and phone number match your website exactly. This consistency, often called NAP consistency, is one of the strongest signals for local SEO , and mismatched information across your site and profile confuses search engines and customers alike. Link your website URL in your profile, add photos, and respond to reviews regularly, since an active profile paired with a fast, mobile-friendly site gives you a real shot at ranking above competitors who neglect either piece.
Step 8. Plan for multiple locations or franchise growth
Even if you're launching with a single storefront today, think ahead if you have any plans to open a second location within the next couple of years. Retrofitting a multi-location website onto a structure built for one address is far more painful than planning for it from day one. The businesses that struggle most are the ones that treated their first site as a permanent, single-purpose build, then had to rebuild navigation, duplicate content, and untangle SEO across every existing page once location two opened.
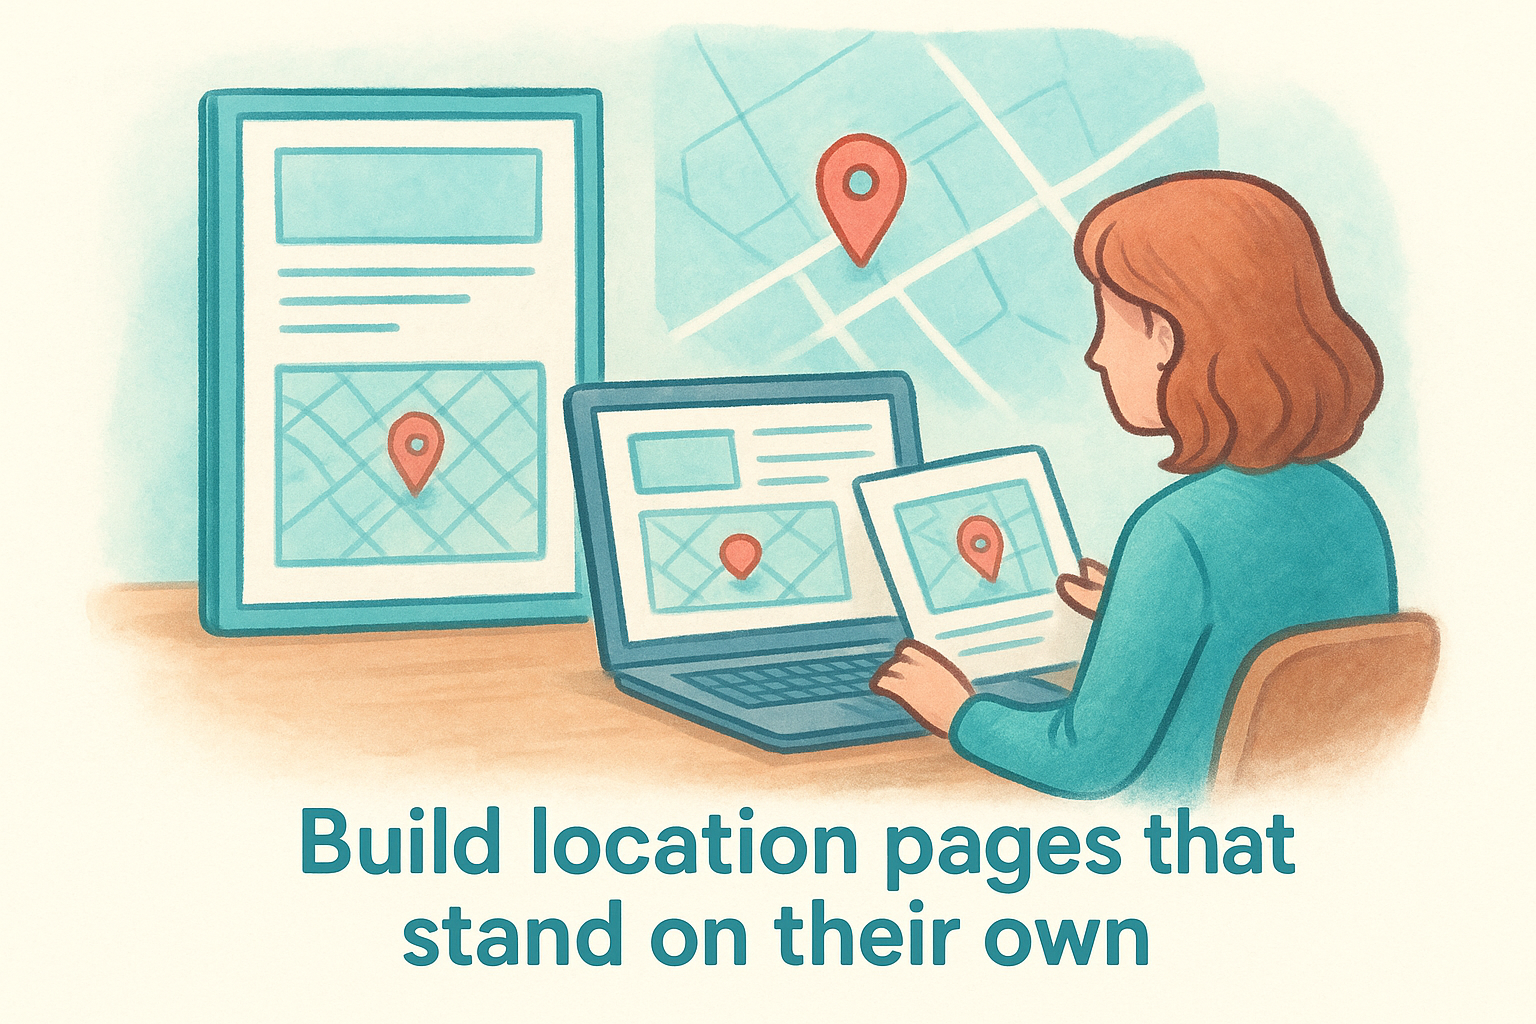
Build location pages that stand on their own
Each location needs a dedicated page with its own address, phone number, hours, staff, and embedded map, not a shared paragraph buried on a general contact page. Search engines rank location pages individually for local search results, so a thin or duplicated page hurts every location's visibility, not just the newest one. Give each page enough unique content, like specific parking instructions, nearby landmarks, or location-specific promotions, so it doesn't read as a copy-paste template with the city name swapped out.
Treat every location as its own small business with its own local SEO, not a footnote on your main page.
Keep branding consistent while giving locations flexibility
Franchise and multi-location owners face a real tension: corporate branding needs to stay consistent, but individual locations often need to promote their own hours, staff, or local offers. Look for a platform or service that lets you manage this without contradiction.
- Centralized templates that lock in logo, colors, and core messaging across every location
- Location-specific fields for address, hours, phone number, and local promotions
- One-click updates that push a change, like new pricing or a holiday closure, across every location at once
- Individual local SEO settings for each address so pages don't compete against each other in search results
Know when DIY builders start to break
Most website builders were designed for single-location businesses, so adding a second or third location usually means manually duplicating pages and hoping you don't forget to update something across every copy. This is exactly the gap a managed subscription service is built to close, since it handles location-specific pages, consistent branding, and local SEO across every address without you touching code or duplicating work by hand. If you're already planning to grow beyond one location, factor that growth into your platform decision now, not after you've built a site that can't scale with you.
Step 9. Test, launch, and promote your website
Before you flip the switch, resist the urge to launch the moment your pages look finished. A pre-launch checklist catches the broken links, typos, and missing phone numbers that slip through when you've been staring at the same pages for weeks. Launching a small business website is the easy part; making sure it actually works for every visitor, on every device, is where most DIY projects skip a step they'll regret later.
Run a thorough pre-launch check
Go through every page methodically rather than trusting a quick scroll-through. Check these items before you announce anything publicly:
- Every form submits correctly and sends notifications to the right inbox
- Phone numbers are clickable on mobile and dial the correct line
- All internal links work, and none point to placeholder pages
- Images load quickly and display correctly on both phone and desktop
- Your Google Business Profile links to the live site, not a staging URL
- Spelling, pricing, and hours match what's posted elsewhere, like social media or a physical sign
A single broken contact form can cost you more customers than a slow page load ever will.
Launch and monitor closely
Once you go live, watch your site closely for the first week rather than walking away. Confirm your site shows up correctly in a Google search for your business name, and check that your XML sitemap submits cleanly through Google Search Console. Monitor your contact form submissions and call tracking, if you have it, to catch any technical issues before they cost you real leads.
Promote your site beyond just launching it
Nobody finds a website by accident, so plan your promotion the same way you planned your design. Update every existing listing, your social profiles, email signature, and printed materials, with your new URL immediately after launch. Share the launch with your existing customer list, since people who already trust you are the easiest ones to bring back for a second look. Ask satisfied customers for reviews on your Google Business Profile , since fresh reviews paired with a working, fast website give you a real edge over competitors who launched and forgot about theirs.
Treat launch day as the starting line, not the finish. A website that never gets updated after launch loses ground in search rankings within months, which is exactly why an ongoing update plan matters as much as the build itself.
Bringing your website vision to life
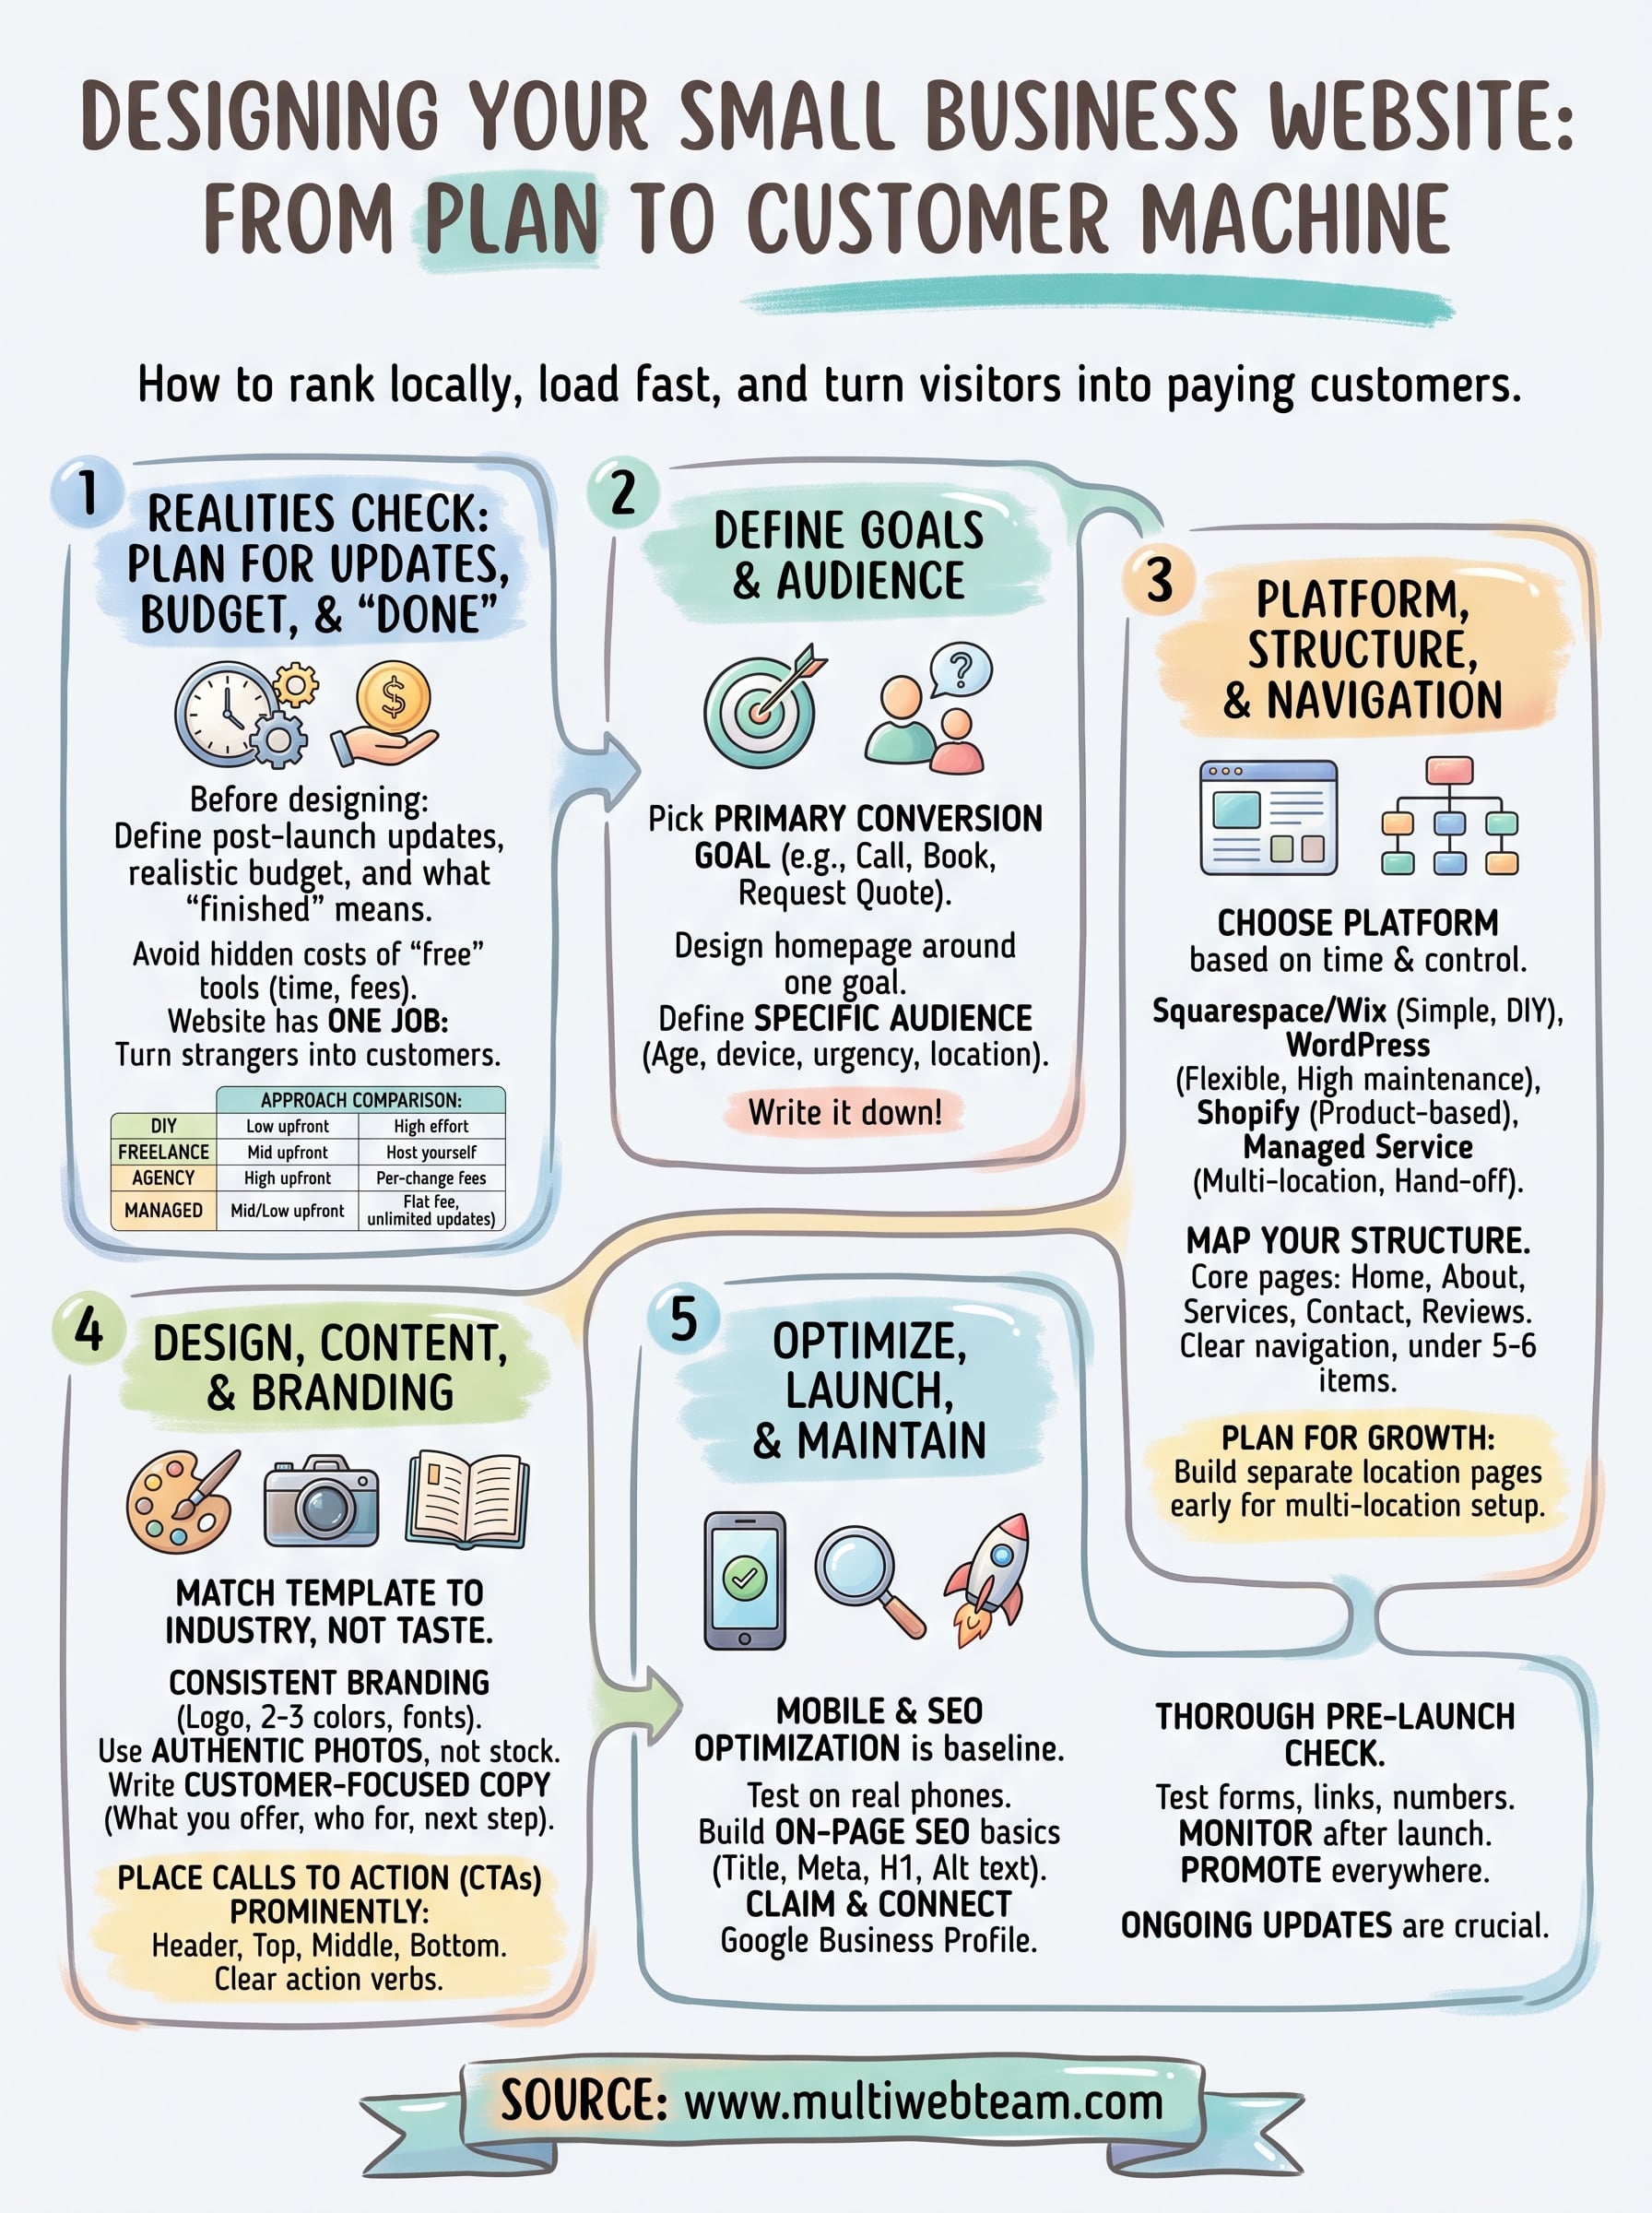
Designing a small business website comes down to a handful of decisions made in order: clear goals, the right platform, a structure that matches how customers search, and content that actually converts. Skip the planning steps and you end up rebuilding pages later. Follow them in sequence and you launch a site that works from day one and scales when you add locations.
Most owners underestimate what happens after launch. Someone has to update hours, swap promotions, add locations, and keep every page ranking locally, month after month, indefinitely. That ongoing work is where DIY builders wear thin fastest.
If you'd rather hand that work to people who build and manage multi-location sites daily, without per-change fees or a locked-in template, see how Multi Web Team designs and manages your site for you. Your website should keep working for you long after the launch day excitement fades.