How to Optimize Images for SEO: A Step-by-Step Guide
If your location pages load slowly or never show up in Google's image results, unoptimized photos are probably the reason. Learning how to optimize images for seo isn't optional anymore, especially for multi-location businesses where every extra second of load time can cost you a customer searching for the nearest store or franchise. Search engines and shoppers both judge your site by how fast and how clearly your images perform.
This guide gives you the exact steps: renaming files with descriptive keywords , writing alt text that actually helps rankings instead of just checking a box, choosing the right file formats and compression settings, and adding structured data so search engines understand what they're looking at. You'll also see how these tactics change slightly when you're managing images across dozens of location pages instead of one storefront site.
We work with multi-location and franchise owners every day, and image bloat is one of the most common issues we fix when we take over a site's management. Follow the steps below in order, and you'll walk away with a clear, repeatable process you can apply to every new photo you upload, whether that's a single page or fifty.
Why image SEO matters for multi-location websites
Most business owners think of images as decoration, something that makes a location page look professional. Search engines see them differently. Google crawls, indexes, and ranks images the same way it ranks text, which means every unoptimized photo on your site is a missed opportunity to show up in Google Images , local pack results, and even AI-generated search summaries that pull in visual content. For a single-location business, that's a modest loss. For a franchise with 30 or 80 locations, it's a recurring loss multiplied across every city you operate in.
The local search connection
When someone searches "pizza near me" or "gym in [city]" and taps the Images tab, Google is matching file names, alt text, and surrounding page content to that query. Location pages with generic file names like IMG_4021.jpg or stock photography scraped from a franchise media kit rarely surface here, because there's no signal tying the image to that specific city or storefront. Properly optimized images, on the other hand, reinforce the same local relevance signals Google already uses to rank your Google Business Profile and location landing pages. Google's own documentation on image best practices confirms that descriptive file names and surrounding text directly influence how images get indexed and surfaced (see Google's guide on image SEO best practices).
Every unoptimized image on a location page is a missed chance to show up in local search, not just a slower page.
Page speed and Core Web Vitals
Images are usually the single biggest contributor to page weight. A location page loaded with five or six full-resolution photos can easily push total page size past 5MB, which tanks your Largest Contentful Paint score, one of the three Core Web Vitals metrics Google uses as a ranking signal. Slow-loading location pages hurt in two ways: they push down your rankings directly, and they push away the mobile visitors who are searching for a nearby address right now and won't wait five seconds for a hero image to render. Multi-location sites feel this pain more acutely because the same slow template gets replicated across every city page, compounding the problem instead of isolating it.
Scale multiplies the problem, and the payoff
Here's the part most single-location advice misses: what's a minor inefficiency on one site becomes a systemic issue across a location network. If your team uploads unoptimized photos to one page, you have one slow page. If that same workflow gets copied across 50 franchise locations, you now have 50 slow pages competing against each other and against local competitors who did their homework.
| Scenario | Single-location site | Multi-location network (50 pages) |
|---|---|---|
| Unoptimized image impact | 1 slow page | 50 slow pages, compounding site-wide speed score |
| Missed image search visibility | 1 missed opportunity per photo | 50x missed opportunities across markets |
| Fix effort if done manually | Small | Time-intensive without a repeatable process |
The upside works the same way in reverse. Once you build a repeatable image optimization process, and apply it consistently every time a new location page goes live or a menu photo gets swapped, you're not just fixing one page. You're setting a standard that scales with every new location you open. That's exactly the kind of leverage a subscription-based management model is built for, since someone is applying the same checklist every single time instead of hoping each location manager remembers the rules.
Step 1. Choose the right image and file format
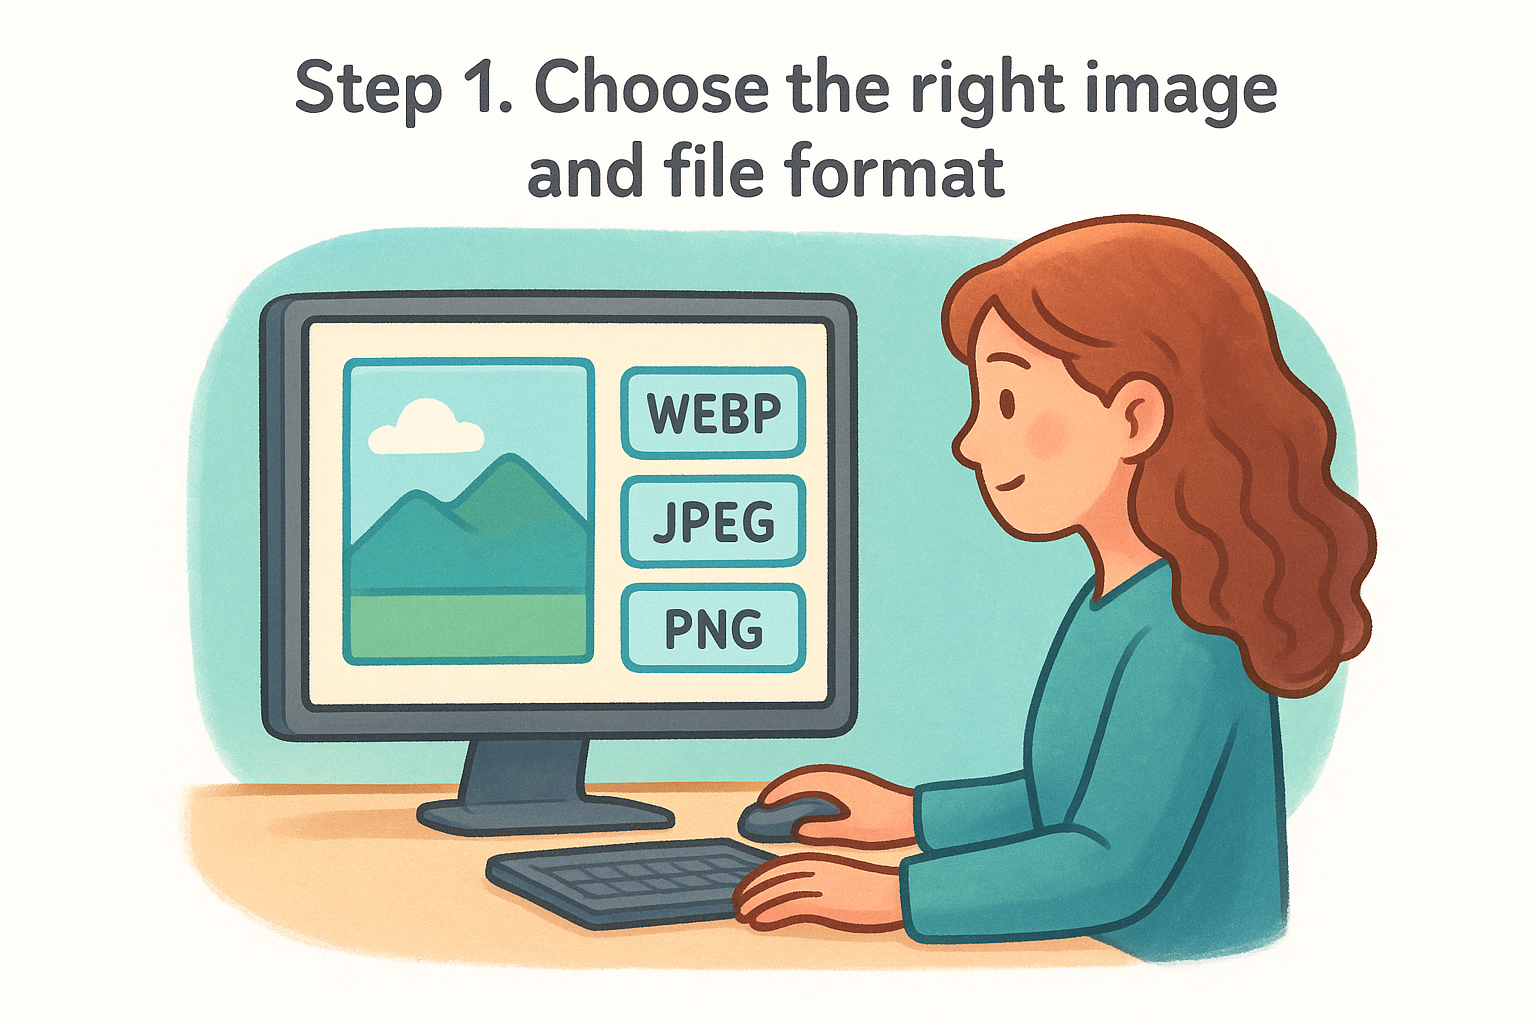
Before you touch a filename or write alt text, decide on the right format. File format determines how much data the browser has to download before a location page even starts rendering, and picking wrong here undoes every other optimization step you take later. Most franchise sites still default to whatever format their camera or stock photo library spits out, usually JPEG or PNG, without checking whether a modern format would cut file size in half with no visible quality loss.
Match the format to the image type
Start by sorting your images into two buckets: photographs (storefronts, food, staff, interiors) and graphics (logos, icons, menus with text). Photographs compress well with lossy formats, while graphics with sharp edges and flat colors need a format that preserves those edges cleanly. Getting this wrong is why so many location pages end up with a blurry logo sitting next to an oddly large hero photo.
| Format | Best for | Typical file size | Browser support |
|---|---|---|---|
| WebP | Photos and graphics | 25-35% smaller than JPEG/PNG | All major browsers |
| AVIF | Photos, next-gen compression | Up to 50% smaller than JPEG | Growing, not universal |
| JPEG | Photographs, fallback format | Baseline | Universal |
| PNG | Logos, screenshots, transparency | Larger for photos | Universal |
| SVG | Icons, simple line graphics | Tiny, scalable | Universal |
Choosing WebP or AVIF over JPEG is the single fastest win you can make before you write a word of alt text.
Default to WebP, keep a fallback
For most multi-location sites, WebP
is the practical default. It's supported across every major browser, compresses photos significantly smaller than JPEG at equivalent visual quality, and handles both photos and simple graphics well. Google's own guidance recommends serving next-gen formats like WebP or AVIF specifically because they reduce page weight without a quality trade-off (see Google's image optimization guidance). If your website platform can't serve WebP automatically, ask whoever manages your site whether it supports the <picture>
element with a JPEG fallback, so older devices still render the image correctly.
Skip PNG for photos
Reserve PNG for logos and anything needing a transparent background. Using PNG for a full-resolution storefront photo is one of the most common mistakes we see when auditing new client sites, since PNG's lossless compression produces files two to three times larger than a WebP or JPEG version with no visible improvement. Set this rule once at the format level, and every photo uploaded afterward, across every location, starts from a smaller baseline before you even get to resizing.
Step 2. Name your image files descriptively
Once you've picked the right format, the next fix costs nothing but a few extra seconds per upload: renaming the file before it ever touches your server. Search engines can't "see" a photo the way a person can, so the file name is one of the first signals they use to understand what's in the image and which page or location it belongs to. Uploading a photo straight from your phone as IMG_4021.jpg throws that signal away completely, and on a multi-location site, that habit repeated across dozens of uploads means dozens of missed chances to rank in image search.
Build a naming pattern you can repeat everywhere
Instead of naming files one at a time, set a template that every location manager or content uploader follows, so the pattern stays consistent no matter who's adding the photo. A reliable structure includes the business type, the specific service or item, and the city or neighborhood, separated by hyphens:
 chicago-lincoln-park-gym-personal-training.webp
austin-downtown-pizza-margherita-slice.webp
denver-capitol-hill-hair-salon-storefront.webp
Notice what's missing: no underscores, no camera-generated codes, no all-caps text. Hyphens read as word separators to search engines, while underscores often get treated as a single continuous string, which weakens the keyword signal you're trying to send.
A descriptive file name tells Google what's in the photo before it even reads your alt text.
Keep it specific but not stuffed
Don't cram every keyword you rank for into one file name. Search engines flag over-optimized, keyword-stuffed names the same way they flag stuffed body text, and it reads as spammy to anyone who inspects the URL. Match the name to what's actually in the frame: a photo of a storefront should say storefront, not storefront-best-gym-near-me-open-24-hours.
Standardize the workflow across locations
Applying this consistently across a location network is where most in-house teams fall behind, since it requires discipline every single time a new photo goes up, not just for the flagship location. A short checklist works better than relying on memory:
- Identify the city or neighborhood tied to the page
- Identify the specific subject (service, product, staff, interior)
- Separate words with hyphens, all lowercase
- Skip stop words like "the" or "and" unless needed for clarity
- Save the file with the new name before uploading, never after
Get this step right once, and every image you compress and resize next inherits a name that's already doing SEO work for it.
Step 3. Compress and resize for fast loading
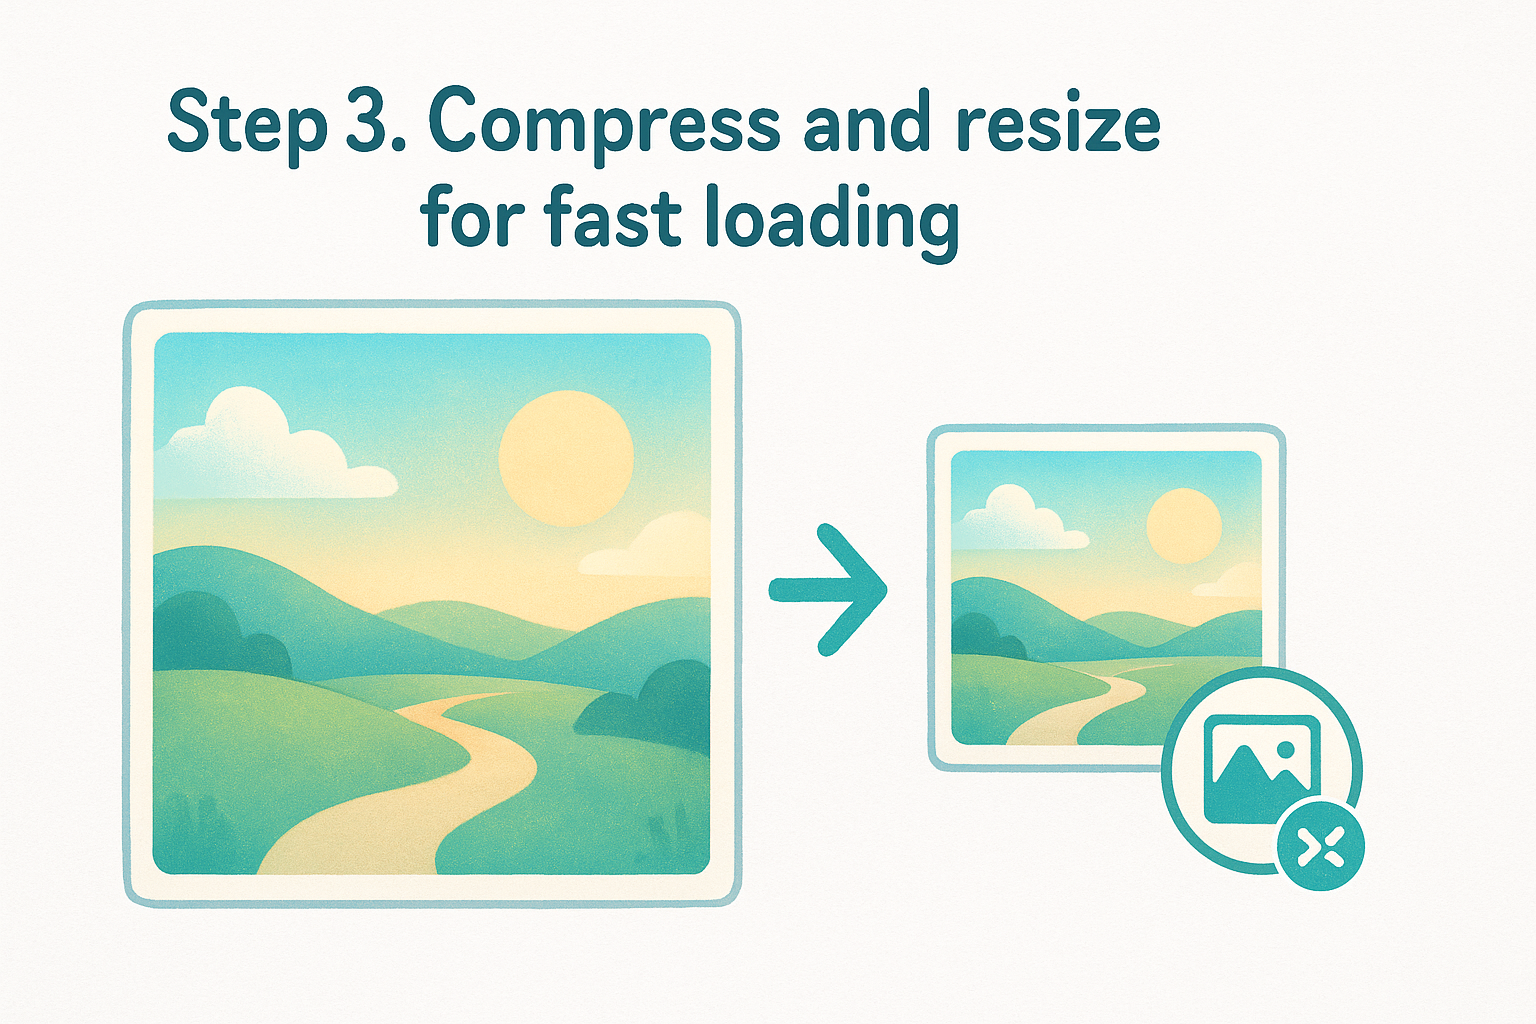
With the right format and a descriptive name in place, the next lever is file size . A photo that's technically a WebP file but still weighs 3MB because nobody resized the original from a 6000-pixel-wide camera image will still slow down your location page. Compression and resizing work together: resizing trims the pixel dimensions down to what the page actually displays, and compression strips out data the human eye can't detect at that size.
Resize before you compress
Most location page templates display hero images at somewhere between 1200 and 1600 pixels wide, yet raw uploads often arrive at 4000 pixels or more straight from a phone or DSLR. Resizing first means compression has less data to work through, and it stops browsers from downloading pixels nobody will ever see. As a working reference:
| Image use on page | Recommended max width | Target file size |
|---|---|---|
| Hero/banner image | 1600px | Under 200KB |
| In-content photo | 1000px | Under 120KB |
| Thumbnail/gallery | 400px | Under 40KB |
| Logo (SVG preferred) | N/A | Under 10KB |
Set compression targets you can measure
Don't compress by feel. Pick a numeric target, like the table above, and check every batch of uploads against it before publishing. Google's PageSpeed Insights documentation on optimizing images flags any image that could be served smaller without a visible quality drop, so run new location photos through it before they go live rather than after a ranking drop forces a re-check.
A resized, compressed image loads faster on every visit, while an unoptimized one costs you speed on every single page load, forever.
Automate it so it scales across locations
Manually compressing photos one at a time works for a single storefront site, but it breaks down fast once you're managing image uploads across dozens of locations. Build compression into the upload workflow
instead of treating it as a manual step someone has to remember. A basic command-line approach using Google's own cwebp
tool looks like this:
cwebp -q 75 -resize 1600 0 storefront-original.jpg -o chicago-storefront.webp
That single command resizes the width to 1600 pixels and compresses at 75% quality, a setting that keeps photos visually sharp while cutting file size substantially. Whatever tool your platform uses, lock in a default quality setting and resize rule so every location manager produces the same result, without needing to understand compression math themselves.
Step 4. Write effective alt text
After the file name, alt text is the second signal search engines use to understand an image, and it's the one screen readers rely on to describe photos to visually impaired visitors. Skipping it, or filling it with a single keyword, wastes an easy ranking opportunity and creates a genuine accessibility problem for anyone using a screen reader to browse your location pages. Google's documentation on alt text best practices is explicit that alt text should describe the image accurately, not just repeat target keywords.

Describe what's actually in the frame
Good alt text reads like you're describing the photo to someone on the phone who can't see it. Instead of "gym Chicago," write something that captures the subject, the setting, and the location together, the same details you already used in the file name. Compare the two approaches:
 Bad: alt="gym"
Bad: alt="gym gym Chicago Lincoln Park best personal training"
Good: alt="Personal trainer coaching a client on strength equipment at our Lincoln Park, Chicago gym"
Alt text should describe the photo to a person, not repeat a keyword to a search engine.
Keep location context without stuffing
Mention the neighborhood or city naturally, the same way you would in a sentence, rather than tacking it on at the end of every description. One clear location reference per image is enough; repeating it across ten photos on the same page reads as spam to both search engines and real visitors. If a photo genuinely has nothing to do with the location, like a generic icon or a stock background graphic, leave the alt attribute empty ( alt=""
) rather than forcing in a location name that doesn't belong.
Build alt text into the same upload checklist
Treat alt text as part of the same step where you rename the file, not an afterthought added later by whoever remembers. A short set of rules keeps it consistent across every location manager and every upload:
- Describe the subject, setting, and location in one short sentence
- Avoid keyword repetition; one location mention is enough
- Skip phrases like "image of" or "picture of", they add no value
- Leave decorative or purely visual graphics with an empty alt attribute
- Match the tone to how a person would actually describe the photo
Get this habit locked in alongside file naming, and every new photo across every location starts pulling its weight in image search from the moment it goes live.
Step 5. Add structured data and technical finishing touches
Once your images are properly formatted, named, compressed, and described, the last step is helping search engines connect the dots technically. Structured data tells Google exactly what an image represents, who owns it, and which page it belongs to, which matters more on a multi-location site where the same product photo might appear on several city pages. Skipping this step doesn't break your rankings outright, but it leaves free ranking signals on the table that a competitor's site might already be using.
Mark up images with schema
Add ImageObject
markup to your location pages so Google can associate each photo with the business, address, and page context automatically. A basic implementation looks like this:
 {
 "@context": "https://schema.org",
 "@type": "ImageObject",
 "contentUrl": "https://example.com/images/chicago-lincoln-park-gym-personal-training.webp",
 "license": "https://example.com/license",
 "acquireLicensePage": "https://example.com/license-page",
 "creditText": "Example Gym Chicago",
 "copyrightNotice": "Example Gym"
}
Google's structured data guidelines for images explain how licensing and credit fields help images qualify for expanded features in Google Images, something worth checking if your franchise photos get reused across markets.
Structured data doesn't replace good alt text and file names, it reinforces the signals you already built into them.
Submit an image sitemap
If your platform generates a standard XML sitemap, confirm it includes image tags rather than just page URLs. This gives Google a direct list of every image worth crawling, instead of relying on it to find each one during a regular page crawl:
 <url>
 <loc>https://example.com/locations/chicago-lincoln-park</loc>
 <image:image>
 <image:loc>https://example.com/images/chicago-lincoln-park-gym-personal-training.webp</image:loc>
 </image:image>
</url>
Lazy load and serve responsive sizes
Finally, set images below the fold to lazy load using the native loading="lazy"
attribute, and serve responsive sizes with srcset
so mobile visitors don't download a desktop-sized photo. Together with everything from the earlier steps, this closes the loop between an image that's technically correct and one that actually performs well across every location page
on your site.
Turning optimized images into local search traffic
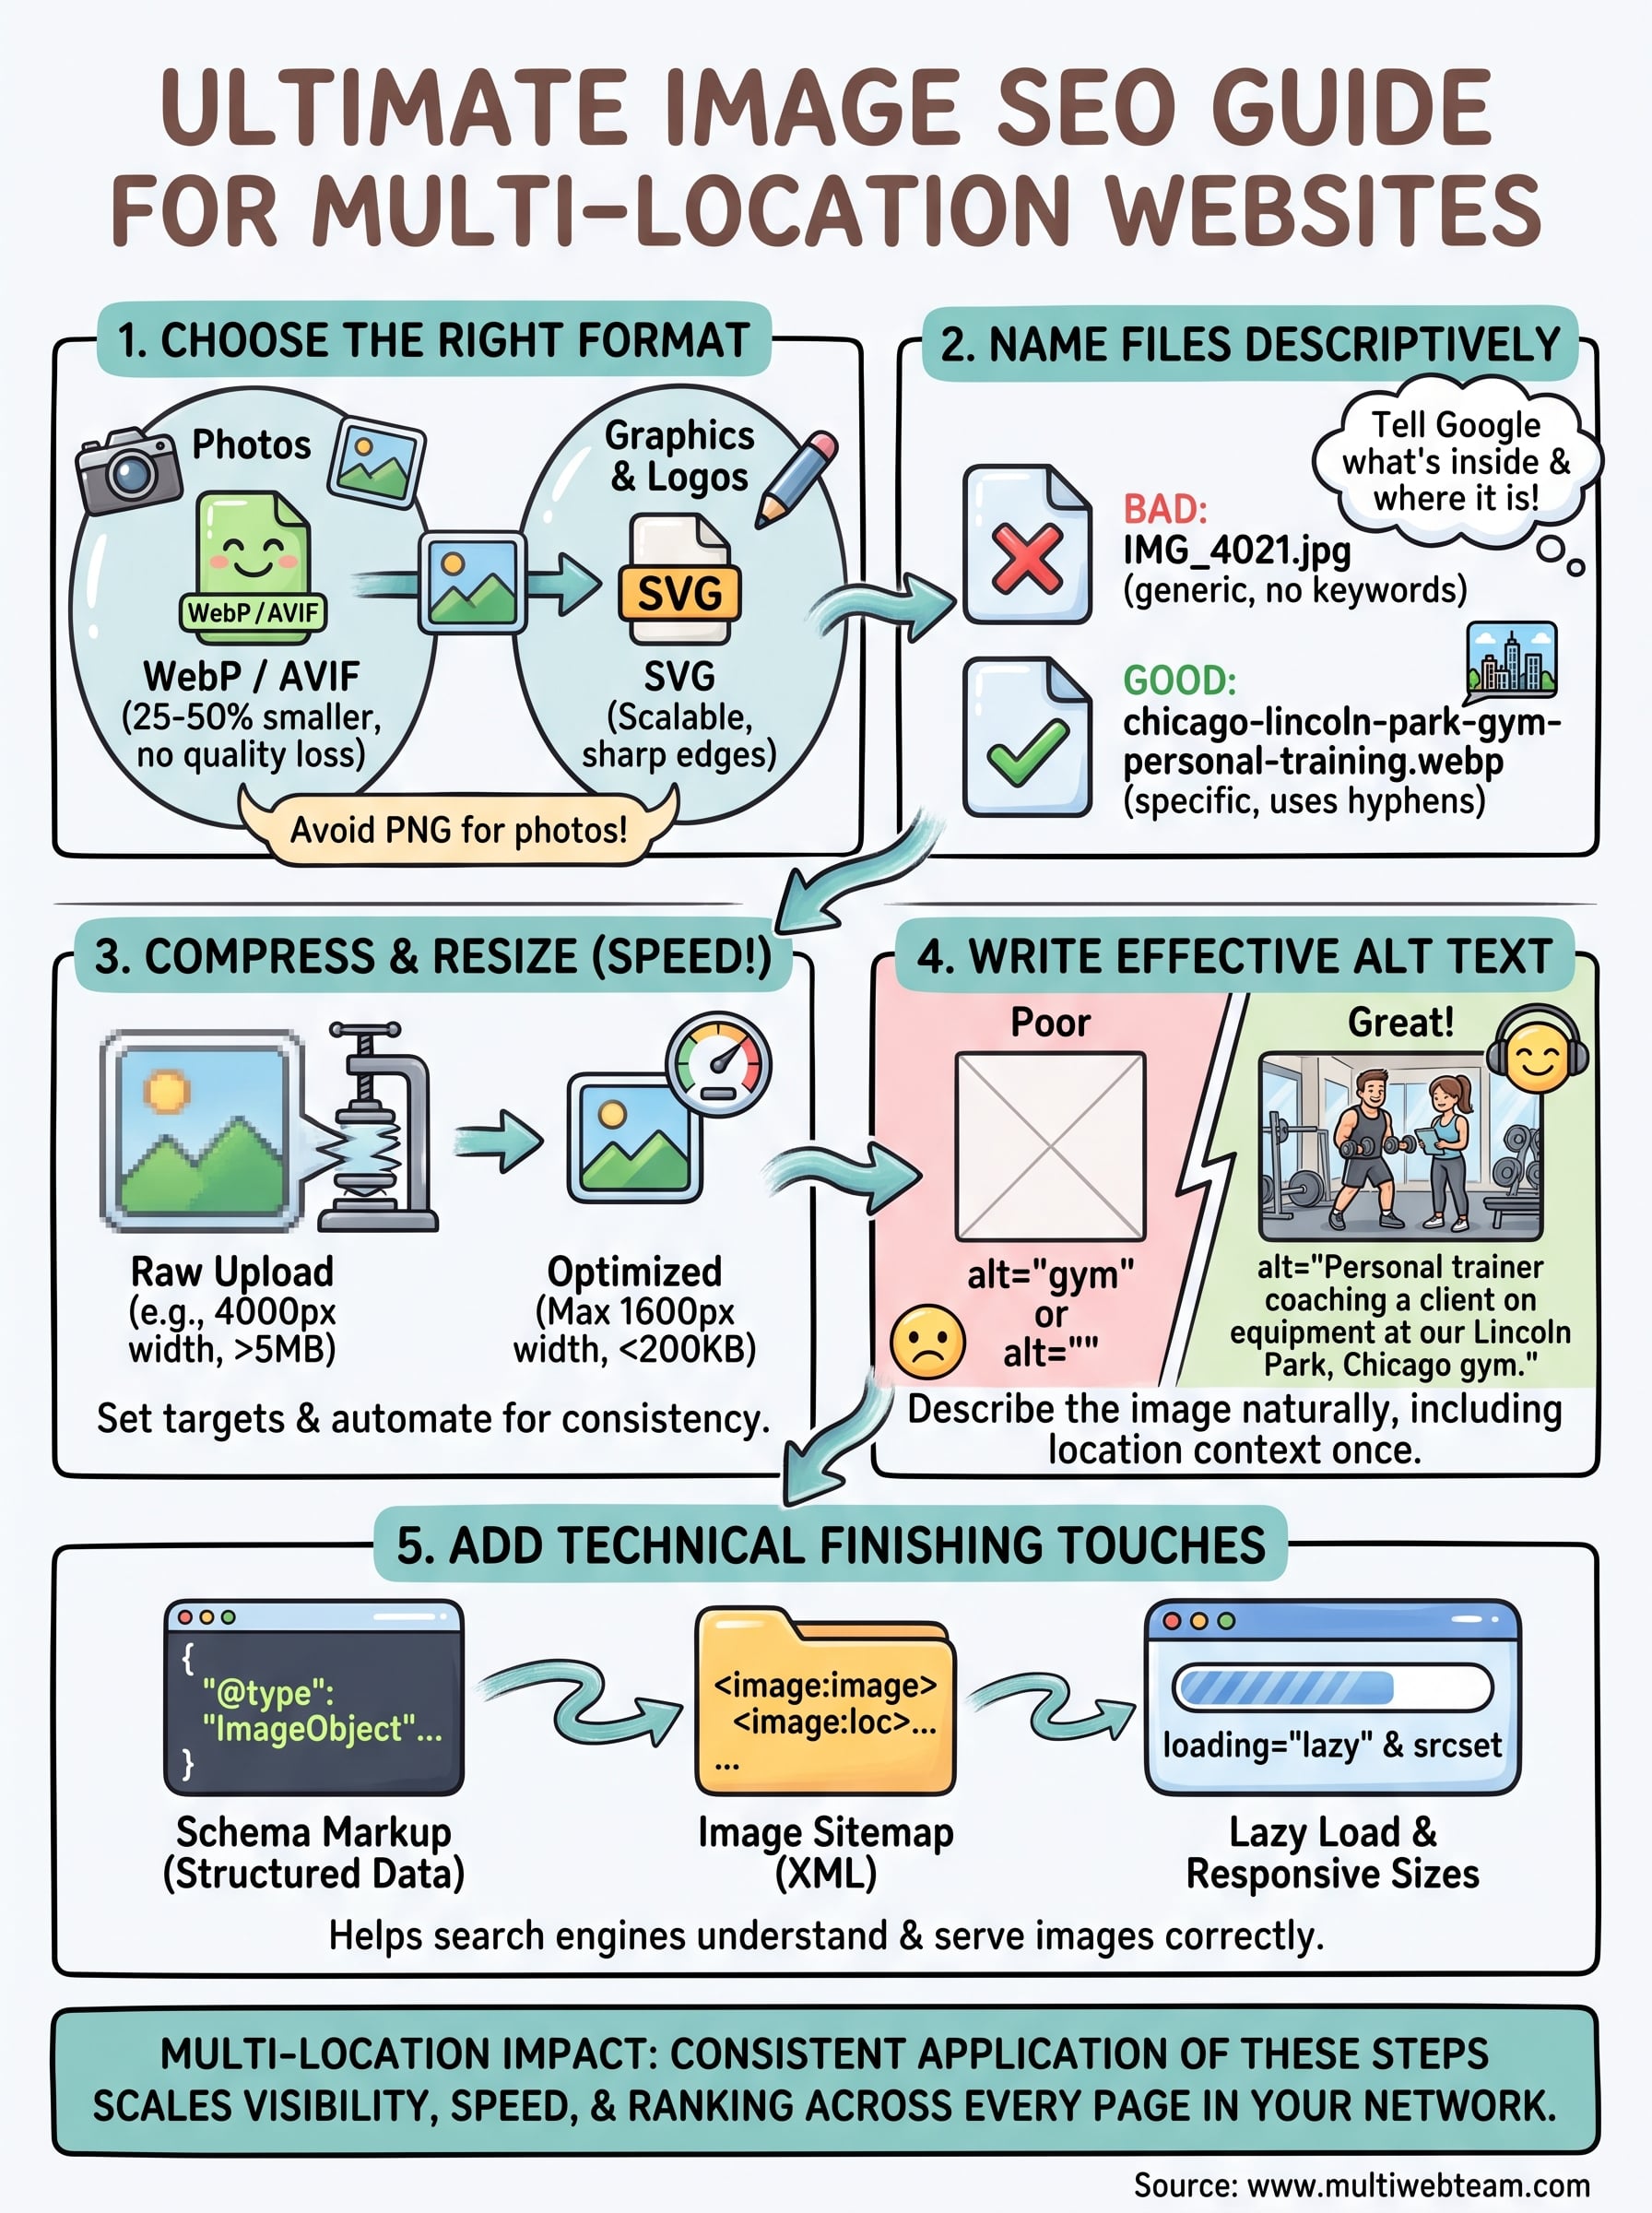
Five steps, applied consistently, turn image optimization from a chore into a real ranking advantage: right format, descriptive file names, compressed sizing, honest alt text, and structured data tying it all together. None of this works as a one-time cleanup. Local search traffic comes from images that stay optimized every time a menu changes, a new hire gets a headshot, or a location page launches. That consistency is exactly what breaks down once a franchise grows past a handful of pages and nobody owns the checklist.
Growing multi-location businesses rarely have the bandwidth to enforce this on every upload, across every city, every month. That's the gap a dedicated web team closes, applying the same naming, compression, and alt text standards to every location page without you having to chase it down. If you'd rather have someone else run this checklist on every photo you publish, see how Multi Web Team handles image optimization as part of ongoing website management for multi-location brands.